
Mobile Lighting Solutions For Vloggers

Vlogging isn’t reserved for high-end studios or seasoned filmmakers anymore. All you really need is a phone or even a trusty laptop to kick things off. The barrier to entry is practically non-existent, opening the door for everyone to express their unique stories and ideas. Yet, while it might seem simple enough to press record and start talking, there’s a secret element that can transform your videos from bland to blast: lighting.
Lighting is that magic touch making your videos look like a million bucks. It lends that professional vibe even if you’re just shooting in your bedroom or local park. And guess what? Mastering it doesn’t have to turn into a complicated science project. You can reach slick-looking videos without draining your wallet or losing your mind over too many technicalities.
Let’s talk options. There’s a multitude of ways to approach lighting. You’ve got basic setups that don’t cost much and are great for beginners. Then, there are pro tips that can take your lighting game to the next level, elevating your entire production. Got some budget to spare? Consider ready-to-use kits that offer everything you need, right out of the box. But, if you’re into getting crafty, DIY solutions allow you to get hands-on and customize your lighting to suit your exact needs.
Think about good lighting as your silent partner in vlogging. It’s not only about the visuals; it’s about keeping your audience hooked and coming back for more. Quality visuals definitely enhance viewer engagement. So, if you’re serious about this gig, understanding the nuances of lighting is step one to winning the vlogger game.
The Essence of Lighting: Capturing Audience Attention

Getting your lighting right can be the difference between a video that pops and one that flops. Quality lighting helps cut through the noise, giving your content a polished look that resonates with viewers. Trust me, when your visuals are on point, people stick around, and that’s half the battle won.
Lighting setups will look different depending on where you’re shooting. Whether you’re indoors or taking your vlogs outside, nailing the right setup is critical. Indoor spaces may require more controlled lighting setups because those indoor lights sometimes just don’t cut it on their own. Outdoor lighting relies a lot on natural resources, but not to worry, I’ve got tips for making the most of it regardless of what Mother Nature’s up to.
When you’re just starting out, it might seem overwhelming, but lighting guidance is out there specifically for vloggers in all sorts of scenarios. Got yourself a starter kit? Awesome! It might just be the one-stop package for getting those clean and bright shots. For those looking to up their game, professional lighting tips are key. It’s more than pointing a light at your face; it’s about learning angles, intensities, and mixing up your light sources.
Remember, good lighting not only satisfies the camera but also makes you and your stories shine. When viewers notice the care you’ve taken to light your videos just right, it lends credibility and professionalism to your whole gig, helping grow your follower base and engagement. So keep experimenting, keep adjusting, and watch your vlog thrive!
Lighting Options: Choosing What’s Best for You
When it comes to lighting, you’ve basically got two big players: natural and artificial light. Time to break down what each brings to your vlogging setup. Natural lighting is everyone’s budget-friendly friend. Open a window, head to the park, or find that perfect sunbeam and let nature do the work. It’s all about that effortless glow. But here’s the deal — it’s not all sunshine and rainbows. Natural light changes faster than a chameleon on a mood swing. From overcast to sundown, it feels like it’s always playing tricks on you. Embrace it, adapt, and roll with the unpredictability.
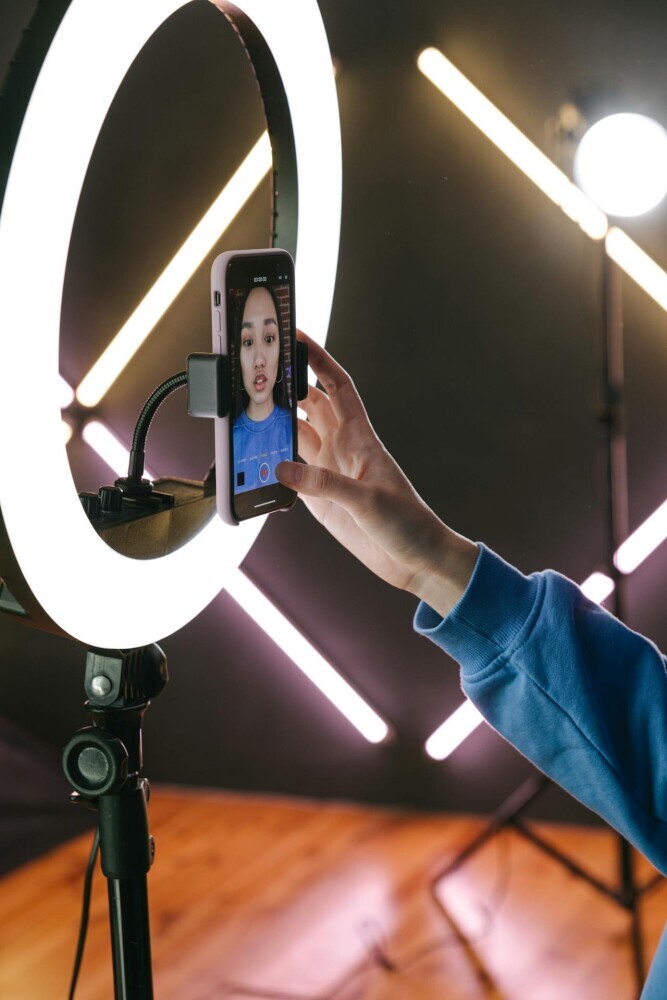
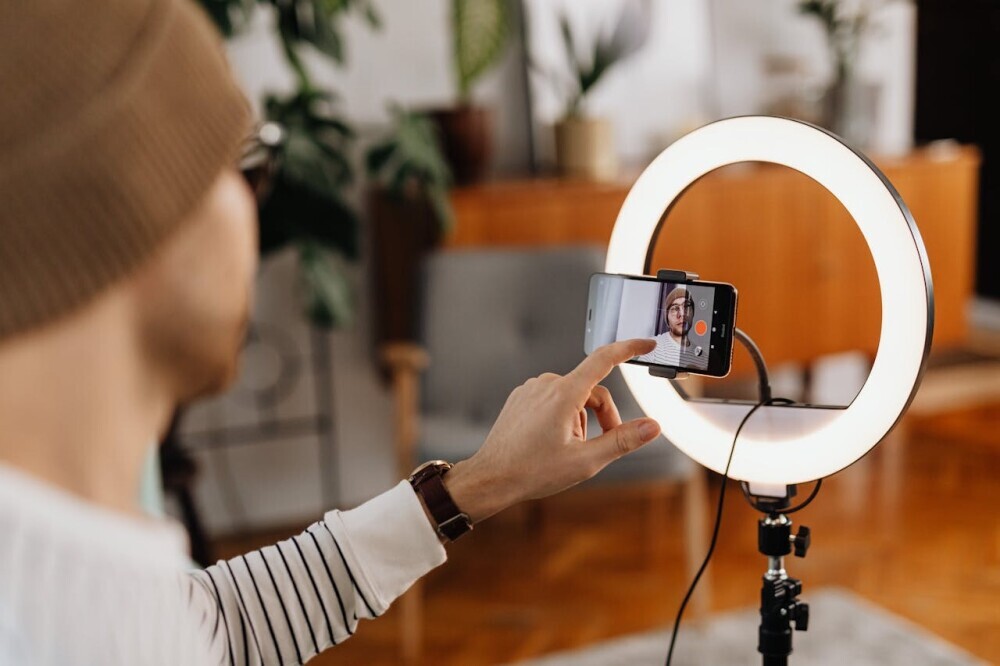
Artificial lighting brings consistency into the mix. You’re the boss here, controlling brightness, positioning, and direction. Ring lights, LED panels, soft boxes — they’re perfect for when you need to replicate that golden-hour vibe at midnight or want your downtown apartment to look like it’s moonlit. Sure, they come with a price tag, but they also bring reliability. Whether you’re shooting a makeup tutorial or a late-night rant, having that control is a total game-changer.
If you’re juggling multiple cameras, lighting is even more critical. Each angle requires its own touch to keep shadows flattering and your set cohesive. Think about how each camera sees the scene and coordinate your lighting accordingly. It’s about creating a balanced look that’s inviting from every angle.
Selecting the right option really depends on your focus — whether you’re a natural fan or ready to start crafting elaborate setups. Each has its own charm and challenges, but landing on the right choice makes your content shine. So take stock of your needs, your style, and your work environment to make the best decision for you.
DIY Solutions: Illuminate Without Breaking the Bank
If you’re looking to brighten up your vlogs but are on a shoestring budget, DIY lighting solutions might be just your speed. Building your setup doesn’t have to be an expensive ordeal. With a little creativity and some everyday items, you can craft lighting that suits your needs just fine, no fancy gear required.
Start with what you’ve got around. A simple desk lamp with a bit of tissue paper can work wonders by diffusing harsh light. Use mirrors or foil as reflectors to bounce light exactly where you want it. These small hacks can make a huge difference in highlighting just the right parts of your frame.
Natural light is your ally for DIYers too. Position yourself next to a window, grab a white sheet as a diffuser, and you’ve got your own studio ready to go. Again, it’s all about adapting to what you have and making the most of unpredictable lighting conditions. Play around with these setups and keep room for improvisation.
Heading outdoors? Timing is everything. Early morning or late afternoon light is usually softer and more flattering, known as the ‘golden hour’ in photography circles. Sunny skies or a bit of cloud cover, it all contributes differently to your video vibe, so be observant and use each look effectively. Practice makes perfect here, so get out there and explore.
Budget-friendly doesn’t mean cutting corners on quality. By experimenting and being resourceful, you can uncover new methods to style your lighting just right. This approach not only helps in managing costs but also adds a unique touch to your productions, making them truly your own.